How to generate an audio file with your Music Blocks project
Have you ever created a nice program with Music Blocks and thought, “I would love to have an OGG, FLAC, MP3, or WAV audio file of my project?” Well, you can! This article details one way to create an audio file with Music Blocks.
There is currently no way to export audio in Music Blocks
There is a feature to “export audio to WAV,” which was implemented by Euan Ong for Google Code-In in 2017-18, but is now experiencing a regression. That being said, there has always been a few different ways to generate an audio file from a Music Blocks project, and now is a good time to review one of the options.
Editorial comment: It is recommended to follow the development of Music Blocks occasionally to track new features and bug fixes.
Use Audacity
Audacity is a simple free software program for audio recording and editing. It does everything you need to record a Music Blocks project, but you need to know where to look.
Before you begin, you need to make sure that you have Audacity installed onto your computer. The following instructions were created on the Trisquel distribution of GNU/Linux, but the basic instructions should work on most operating systems. This tutorial assumes you already have Audacity installed and working on your computer, and does not detail installation steps. It also assumes that you have Music Blocks running in a browser on your computer and that you know the basics of how to run a simple program.
Step one: Set system sound preferences to monitor system sounds
This is the one step that most likely varies depending on your operating system. However, the basic idea is you need to find the settings in your system’s sound preferences and set the input to monitor your system’s sounds. Normally, the sound input is set to listen to the microphone, but that setting will not result in a clean recording of the Music Blocks audio. Instead, you want the sound input to monitor the output directly, without any ambient microphone sound.
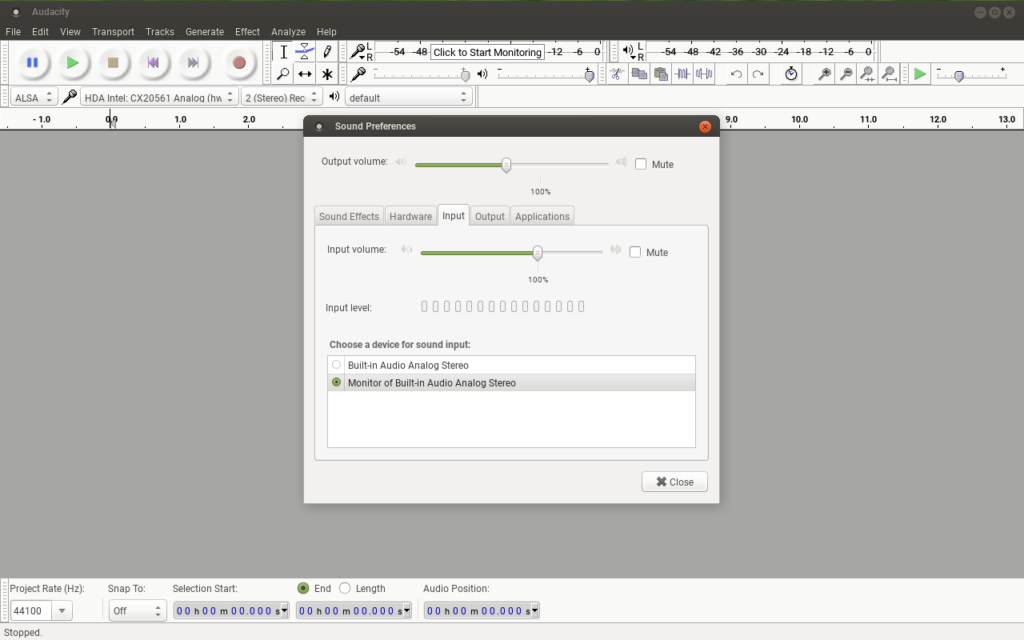
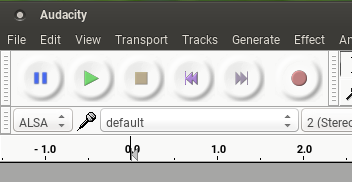
Next, set the microphone input in Audacity to “default” (or otherwise, a setting that would pipe the monitor input from system settings. Again, the basic idea is to monitor the sounds directly from the system.)
Step two: Press record
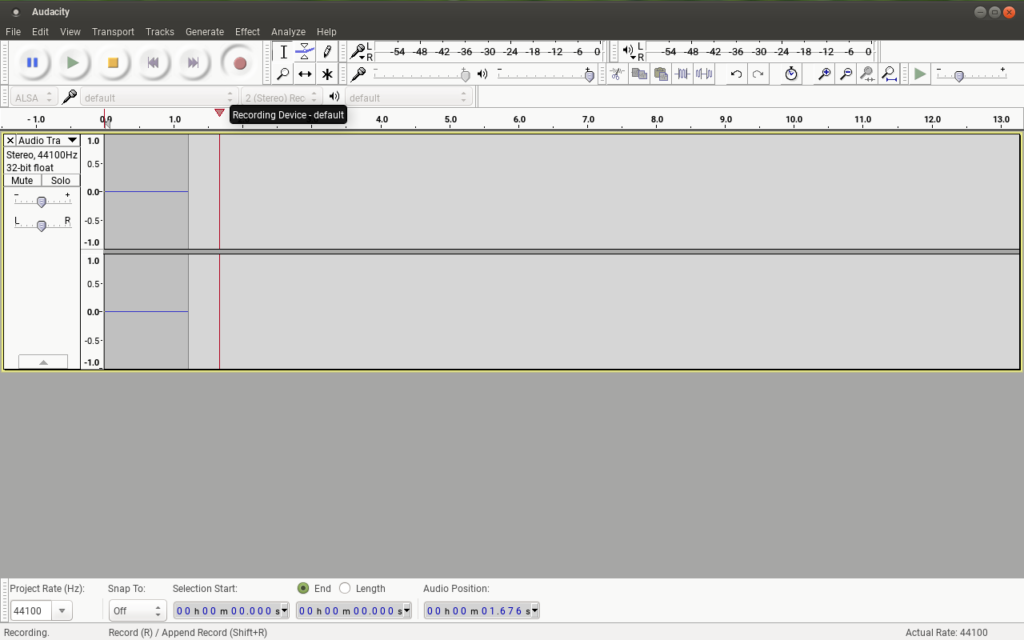
Next, press record in Audacity. If the sound input is set correctly, then the line should be flat before you run your Music Blocks project.
Step three: Run your Music Blocks code
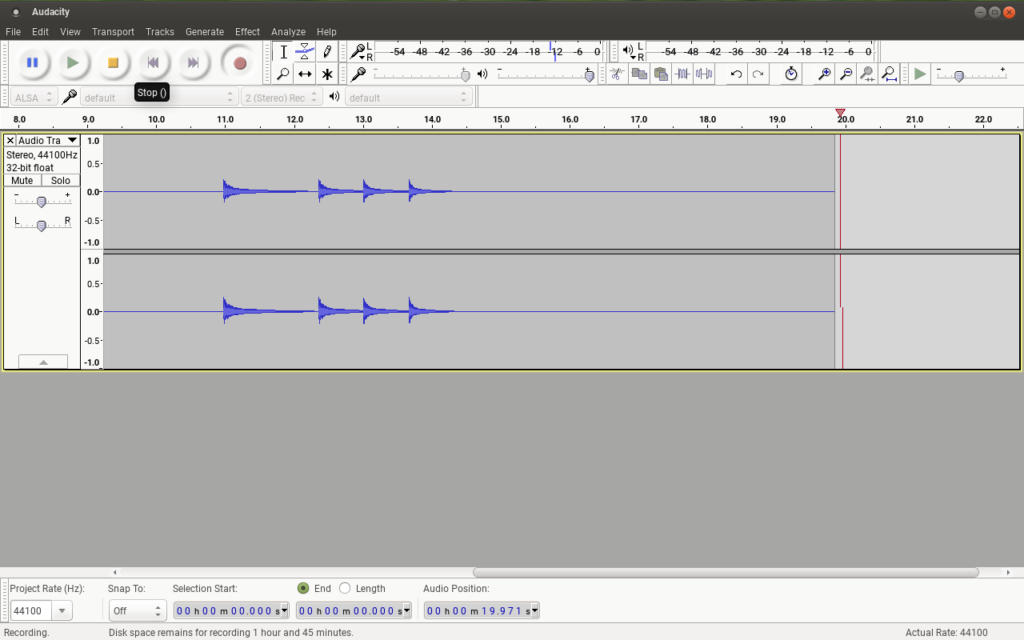
Next, switch to your browser and press the play button in Music Blocks to run your code. The following screenshots are of a simple “do mi sol do” example, but you can use anything you like.
You should switch back to Audacity to check to make sure that the sounds are being recorded. Just be aware that toggling between windows while the program is running can affect the performance of the program, which mainly affects the accuracy of the rhythm. If everything is going well, you should be rewarded with some nice visible sound waves in Audacity.
Step four: Export audio
Once you have recorded your audio from the Music Blocks project, you are ready to export it. Select the portion of the audio you want to export as an audio file (assuming you do not want to export everything). In Audacity, go to File –> Export Selected Audio. Then, choose where in your file systems you would like to save your new audio file and give it a name. Audacity will give you multiple file type options to save to. Once you have chosen a location, a name, and clicked save, you are done and now have an audio file to share and enjoy!
Step five: Find your project, play it, and enjoy!
Now that you have an audio file, you just need to find your new file and open it up in an audio player. The following images are screenshots of finding the audio folder via Caja (a.k.a Nautilus) and opening it with Audacious. Different operating systems have different software for finding and playing audio. Choose the ones that work for you!
Try it!
Press play to try the result of the audio file made following the steps of this blog post.
Now, try it yourself and share with friends and family. Enjoy!


